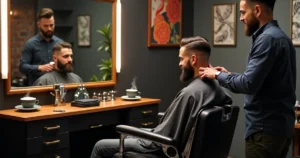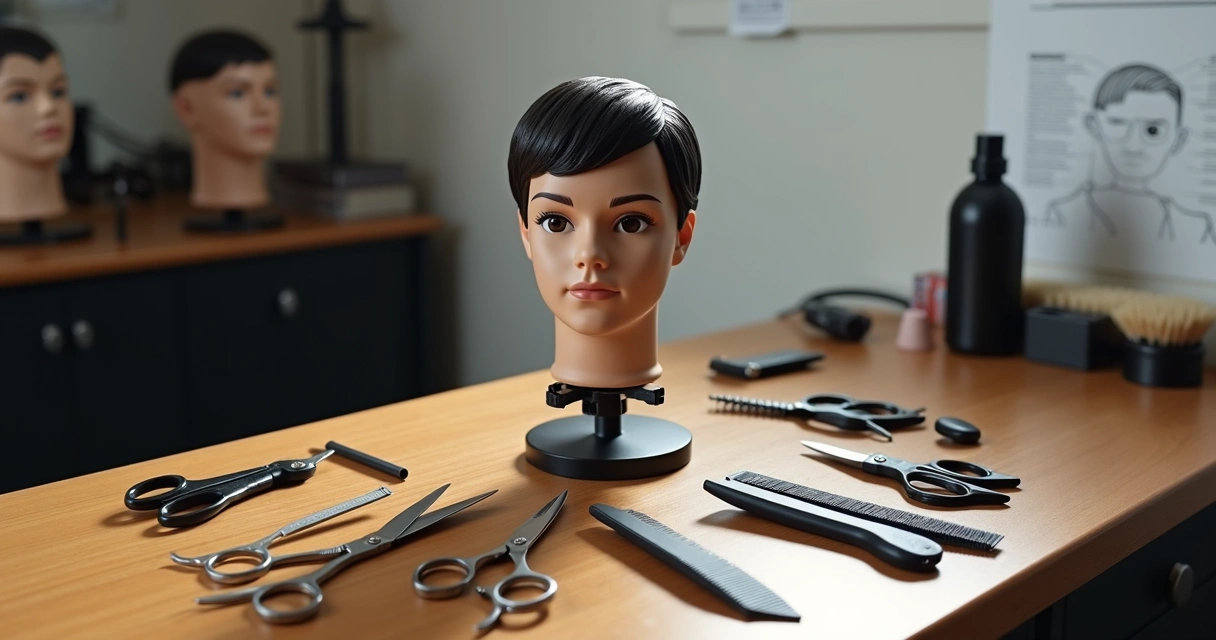
If I had to pick a moment where the future of a barber takes shape, I would say it is when students first hold their tools. Not at graduation. Not during the first client’s cut. But right at that beginning, with a pair of shears or clippers in hand, heart racing, and head full of questions. That’s where confidence is born. At Underground One, I’ve seen hundreds of students go from clumsy and unsure to smooth and precise—all starting with a handful of tools that matter above all others.
Mastering the foundations: Why tool skills matter
Before artistry can shine, students need comfort with their kit. At Underground One, we focus not only on the look of a hairstyle but also on how a student uses each tool with care and control. Without solid technique with the right tools, even a creative vision will stumble. This isn’t a list you’ll “graduate” from quickly—mastery takes repetition, observation, and reflection. But once these tools feel like an extension of your hands, you start seeing the difference in every finished cut.
Strong tools in steady hands create sharp results.
Let’s walk through the first barbering tools every student should master, in the order they should come, and why each matters in the learning journey.
The core tools in every barber’s kit
I always suggest students build muscle memory and skill with a focused set of tools before adding in more advanced equipment. To me, this is the ideal learning progression:
- Clippers and guards (attachments)
- Shears (scissors) and thinning shears
- Trimmers (edgers)
- Comb set
- Straight razor
- Neck duster, cape, and basic cleaning tools
Notice that coloring, advanced texturizers, and styling gadgets come last if at all. Let’s break down the most important tools and what new barbers should focus on when learning.
Clippers: The mainstay of barbering
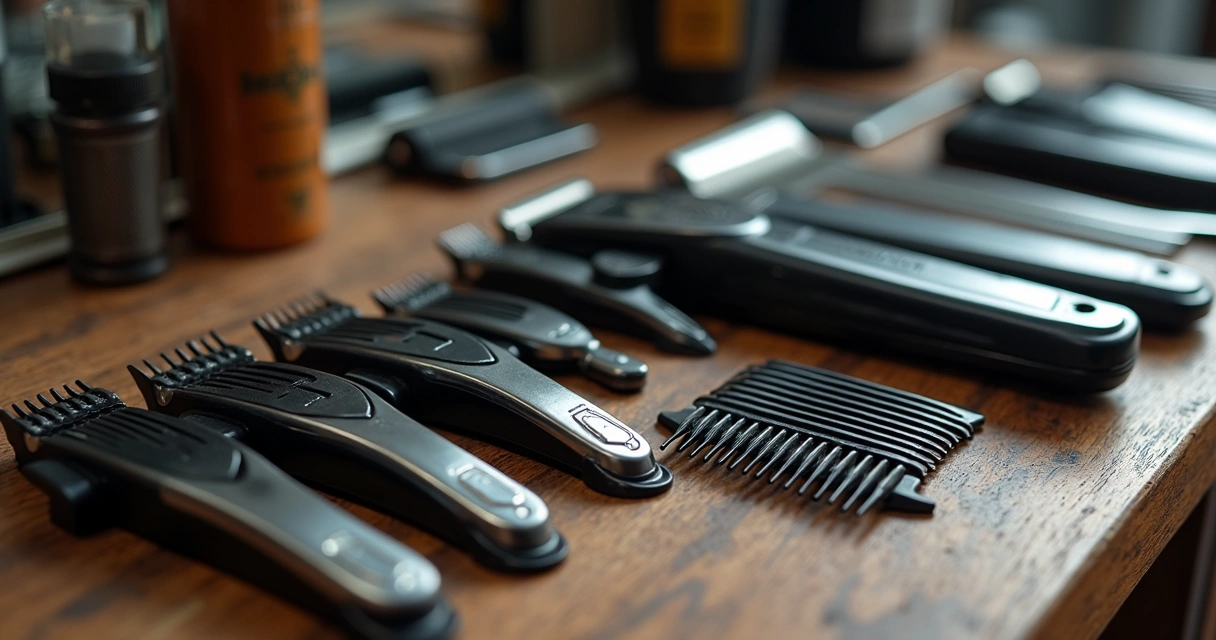
Nothing shapes a crisp fade or a tidy buzz like a solid set of clippers and a few guards. When I started, I was nervous every time I heard that loud buzz near someone’s ear. Soon, it felt natural, but only after a lot of practice on mannequin heads and volunteers.
- Learn to change guards smoothly so you avoid delays and mistakes mid-cut.
- Practice steady movement and keeping your strokes even for a uniform length.
- Clean and oil your clipper blades after each use to keep them sharp and safe.
Mastery of clippers comes first for one clear reason: the majority of classic and modern barber cuts depend on them. That muscle memory stays with you forever. Perfecting this step at the start—before styling or advanced finishing—lays the foundation for all technical cuts that follow.
 Shears and thinning shears: Precision in your fingers
 Shears and thinning shears: Precision in your fingers
I remember the first time I held real barber shears. They were heavier, sharper, and more balanced than the cheap pair I tried at home. And they demanded respect. Proper technique with shears makes the difference between choppy lines and a seamless blend.
Practice these moves early:
- Basic straight cutting: Point cutting, blunt cutting, and slide cutting.
- Using the comb and shears together for scissor-over-comb technique.
- Light touch with thinning shears to reduce bulk without cutting too much.
If you’re unsure how to handle professional shears, take a class at Underground One or ask to shadow someone experienced. Misusing these tools can result in damage—either to hair or, worse, your fingers.
Trimmers: Detailing and finishing
Next, I recommend students spend hours becoming comfortable with trimmers, sometimes called edgers. These are used to clean up necklines, sideburns, beards, and edges around ears. Crisp edges define a quality haircut and reveal a barber’s attention to detail.
- Start with basic outlines before moving to creative designs or beard shaping.
- Always check blade temperature—they can get hot quickly during long sessions.
- Light, careful pressure is key to avoid skin irritation.
If your trimmers have interchangeable blades, learn how to change, clean, and adjust them so they cut sharp and safe every time. Practice on mannequin heads or on friends with different hair types.
Comb set: Your guiding hand
Never underestimate the humble comb. I view it as an extension of my fingers—it guides, lifts, and separates the hair exactly where you need to cut or blend. When students struggle with consistency, it’s often their comb control that needs improvement.
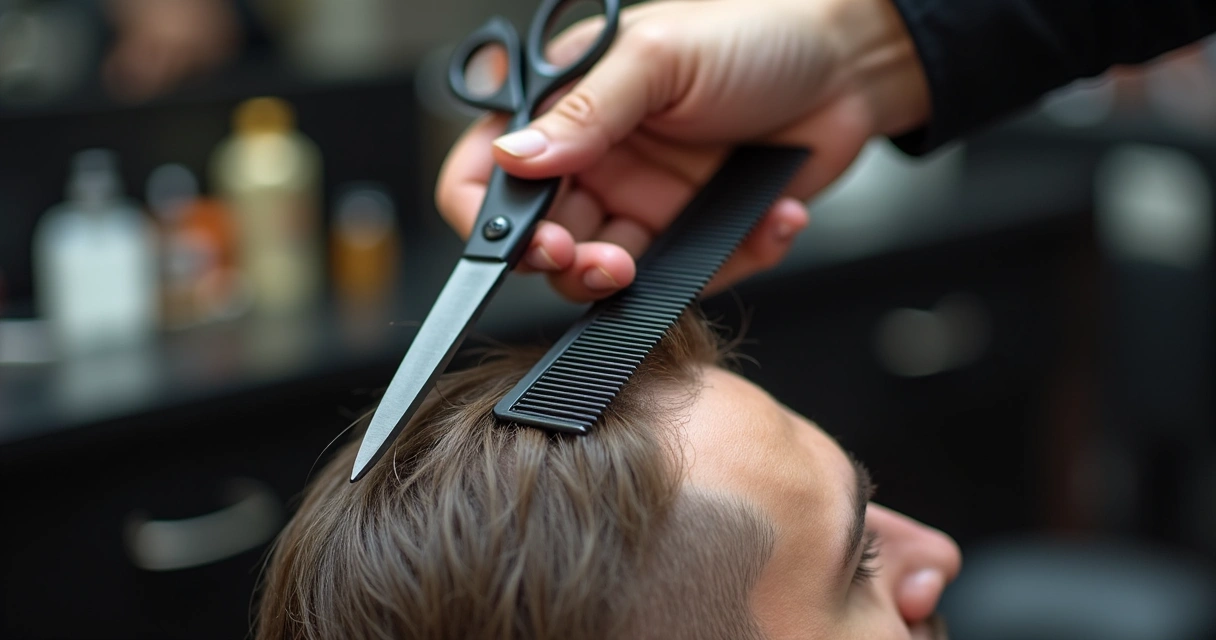 Common combs for barbers include:
- Clipper combs (bigger and flatter to guide clipper cuts)
- Cutting combs (fine and wide teeth on one tool)
- Taper combs (narrow and flexible for detail work)
Find the one that fits your hand and hold it lightly—never in a death grip.
Straight razor: The symbol of precision
To me, the straight razor is the most respected tool in barbering. Not just for shaving, but also for refining lines and creating that extra-sharp finish around the hairline and neck. If your school or state requires a license for razor use, master the basics anyway—it’s worth it. Handling a straight razor teaches respect, control, and attention to the closest details of your work.
Always use a fresh blade, work slowly, and keep skin taut to avoid nicks. A single smooth movement is safer than choppy, nervous ones. If you’re not licensed yet, practice on a balloon or similar to develop steadiness.
Supporting tools: Keeping it hygienic and professional
A neck duster, professional cape, and basic cleaning kit may sound secondary, but every student should know how to use and care for them. Clean, organized workspaces—one of the hallmarks at Underground One—give clients trust and make your day smoother.
- Brush off hair after cuts for comfort and cleanliness.
- Disinfect combs and tools between clients, never skipping this step.
- Keep your workstation tidy to show you respect the craft and the client.
If you ever want to check new hygiene ideas or get community tips, searching through our blog’s hygiene discussions is a good step.
Building your skills beyond the basics
Once students feel at home with those foundation tools and techniques, the doors to creativity open much wider. More advanced texturizing razors, styling products, and specialty scissors can come later, but only add those after seeing progress with the basics. At Underground One, this approach lets our students build confidence alongside technical skill, encouraging authenticity and growth for every background or style.
Simple tool mastery always comes before complex creativity.
For stories from experienced barbers, you can always browse our community posts and see how they started their own journeys.
Personal story: My own lesson in tool selection
I still remember my first days with proper shears and a good set of clippers. It was both exciting and overwhelming. I struggled with uneven cuts, clipped fingers, and getting used to cleaning after every client. But with practice and advice from mentors at Underground One, the tools started to feel like my own—and I could finally enjoy the art of barbering, not just the mechanics. Every new barber learns this: comfort with the tools brings confidence with clients.
So give yourself time, keep your collection basic at first, and take each tool seriously.
Where to learn more and test your skills
For anyone unsure where to focus their time or which tools to try first, I suggest reading through articles like this practical guide to barber equipment. If you want to see practical reviews or connect with others, use our search page to find tutorials, tips, and ideas. And if you’d like to explore the culture that shapes the Underground One standard, there’s plenty to see in community stories about learning new skills.
If you’re ready to really experience how the right tools and a warm environment can change your path, book a visit. At Underground One, we invite anyone—student, client, or pro—to join our welcoming spaces and choose their own look, style, and future.
Frequently asked questions
What are the basic barbering tools?
The basic barbering tools every student should learn first are clippers with guards, shears, thinning shears, trimmers (edgers), a set of combs, and a straight razor. Supporting tools like neck dusters, capes, and cleaning supplies are also necessary for safe and comfortable work.
How to choose the right clippers?
When picking clippers, I always check for solid build, a reliable motor, comfortable grip, and easy blade/guard changes. Pick clippers based on feel in your hand, trusted reviews, and how they perform during practice cuts. Don’t worry about fancy features in the beginning—stick to what feels simple and dependable.
Is it worth it to buy expensive shears?
For a beginner, you don’t need the most expensive shears on the market. Mid-range shears with sharp blades and a comfortable fit work best when learning, while premium options can come as your skills and needs increase. It’s better to buy a good pair and care for them than to spend more than you need at first.
What tools should beginners practice first?
Begin with clippers and guards, followed by shears and thinning shears, then move to trimmers and a straight razor when comfortable. Practice different techniques like clipper-over-comb and scissor-over-comb on mannequins or willing friends to build confidence.
Where to buy quality barbering tools?
I always recommend connecting with established barber training programs or visiting reputable beauty supply stores, either locally or online. When possible, ask for recommendations from teachers or experienced barbers at places like Underground One. That way, you get tools that work well and have support if you have questions.